View product
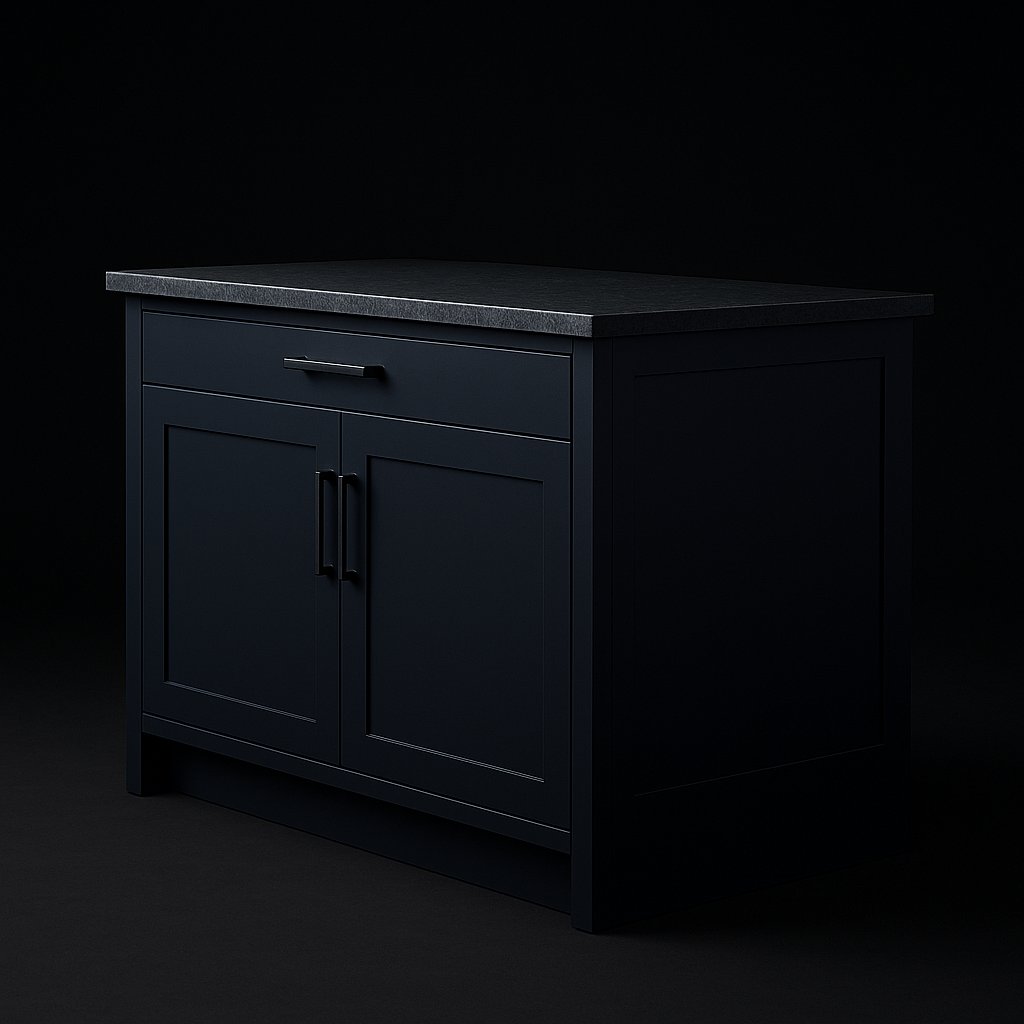
Passage Slim Island
A narrow ink-finish island for galley kitchens that need storage without a broad footprint.
View productMeasure, compare, resolve
A composed kitchen elevation comes from aligning room geometry, storage habits and furniture proportions. Use this guide to create a useful shortlist before selecting a cabinet-set or kitchen-island configuration.
RS KITCHENS DESIGN STUDIO
Practical guidance connected directly to the live catalogue and support flow.
View product
A narrow ink-finish island for galley kitchens that need storage without a broad footprint.
View product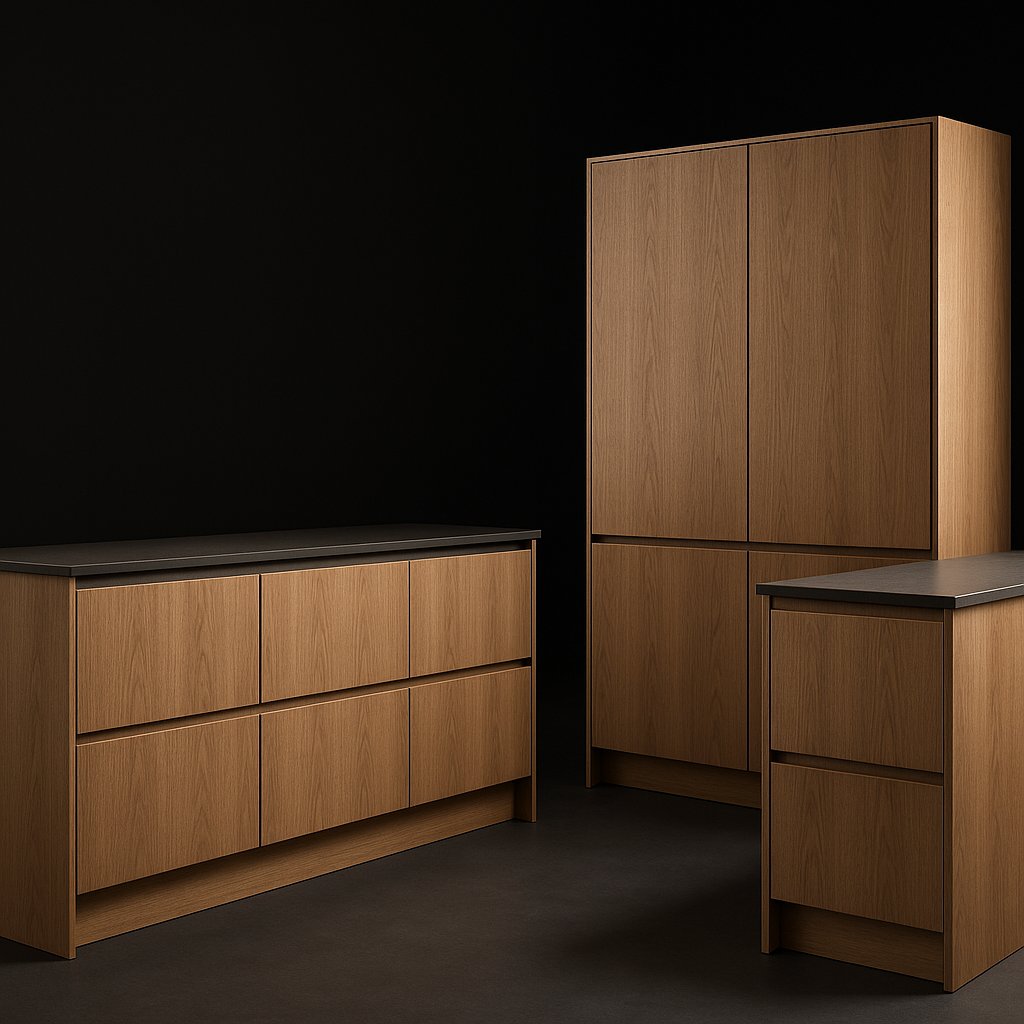
View product
Warm oak kitchen units balanced across two straight runs for a galley footprint.
View productDraw each wall as a simple straight line and mark the width of openings, corners and fixed obstructions. A cabinet set can then be compared as a complete run rather than as disconnected individual units.
For a galley, check both facing runs and the clear passage between them. For an L-shaped plan, confirm the dimensions of both legs and the type of corner storage included in the chosen package.
Tall cabinets create strong vertical anchors, while wall units affect the upper rhythm of the room. Their position should respond to the full elevation and the practical work zone below.
The easiest-to-reach zones should support the objects used most often.
Useful for cutlery, utensils and preparation tools that benefit from a visible single layer.
Suitable for pans, mixing bowls and larger items where full extension makes the contents easier to reach.
A practical choice for taller or less frequently used items, especially when shelf positions can organise the volume.
Best reserved for objects that can remain visually ordered and are useful from the preparation side.
A tape outline on the floor can reveal whether a preferred island width leaves enough room to move.
Use the exact width and depth of the selected configuration rather than an approximate rectangle.
Include any seating or cantilevered plane because it changes both the visual span and the circulation zone.
Allow for surrounding cabinet, appliance and room doors to move without conflicting with the island.
Test the likely path between storage, preparation and other kitchen zones before settling on the footprint.
Light chalk and limestone tones can make broad cabinet areas feel quieter, while deep ink creates a more graphic elevation. Warm oak introduces visible grain, and smoked walnut gives an island a stronger furniture character.
Finish samples should be considered alongside the planned worktop and the room's actual light. The site images communicate the product direction, while the written finish and configuration details define the catalogue choice.
Preparation, storage, seating and slim formats are separated into defined products with clear configurations.
Related products
A few catalogue examples that connect the guidance, process, or service topic to the actual storefront.
A narrow ink-finish island for galley kitchens that need storage without a broad footprint.
From £1,195.00
View product
Warm oak kitchen units balanced across two straight runs for a galley footprint.
From £2,495.00
View product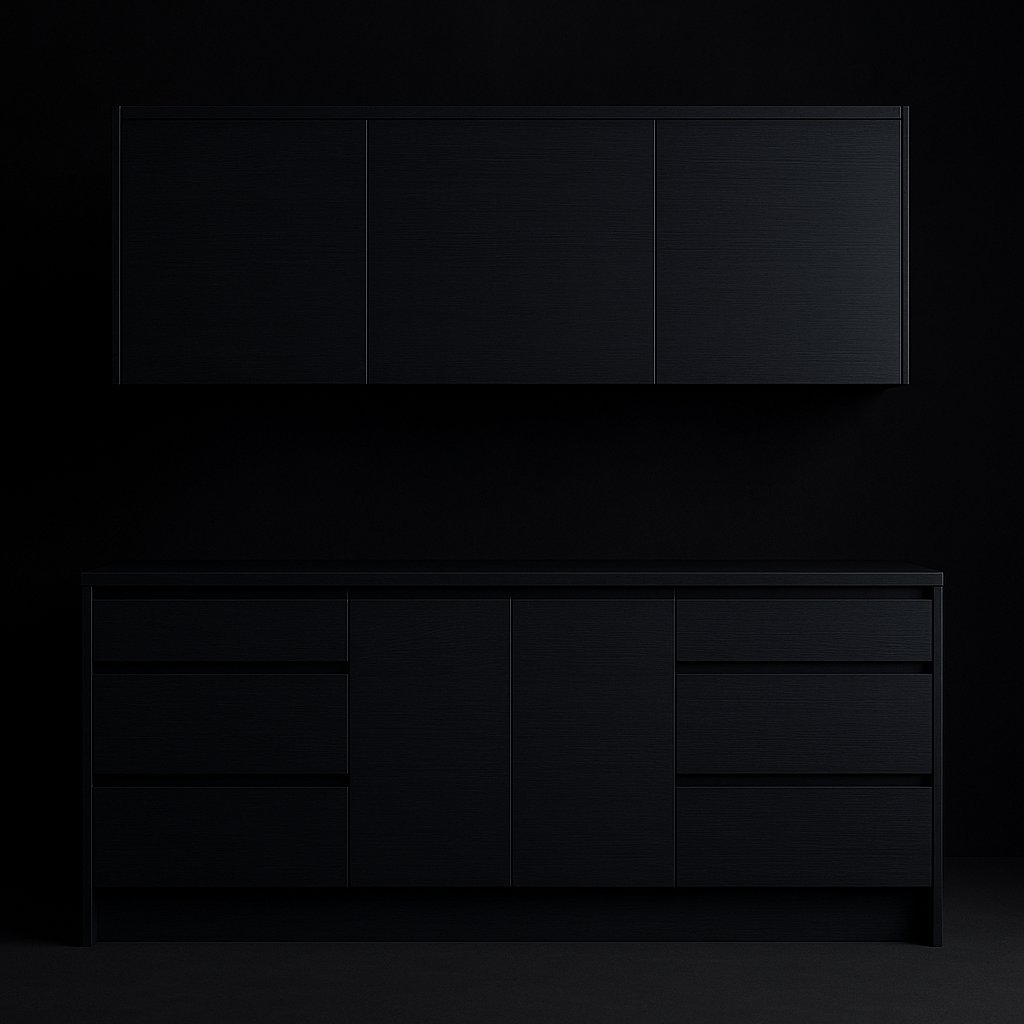
Deep ink contemporary kitchen units drawn into a precise handleless-style elevation.
From £3,195.00
View productBasket
0 items in cart
Your cart is saved in this browser until you clear it. Need help now? Contact us on +441908 107291.